Enable VASA on HP P4000 Lefthand SAN with vSphere 5
On of the new features of vSphere 5 is VASA. This allows vSphere to read the capabilities of your underlying SAN storage. With this information, you can do all kinds of fancy stuff afterwards (Profile-Driven Storage, …)
For HP, it is supported on P4000 (Lefthand), P6000 (EVA) and P9000 (XP). For VASA to function, you will need to install an additional component from HP called HP Insight Control Storage Module for vCenter. The current version at moment of writing is 6.3.1. And yeah, it’s free 🙂
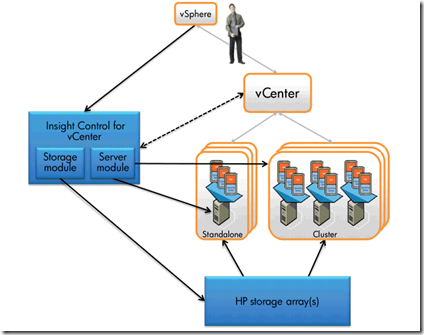
The architecture looks like this:
In this example, we will install it on a seperate server called VASA.labo.local in our Ultimate vSphere Lab. I already have a P4000 VSA running in that lab on a seperate iSCSI network.
Make sure the VASA server can communicate with the SAN AND the vCenter. In my lab, i had to give it 2 vNICs since the SAN is on an isolated network.
From the VASA server, start the setup of HP Insight Control for vCenter.
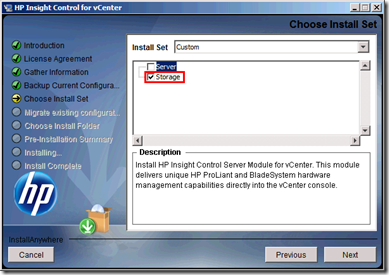
Accept all the default but only select to install the Storage module.
The installation will start the Storage Module after a while.
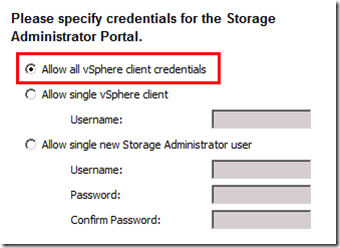
For the Credentials, specify the Allow all vSphere client credentials option:
Do not import any existing data in the vCenter database (because it’s a new installation).
When installation is complete, start the Insight Control for vCenter application (shortcut on the Desktop). A website will pop up. (https://localhost:50025/setupwizard)
Fill in Administrator credentials. A wizard will pop up.
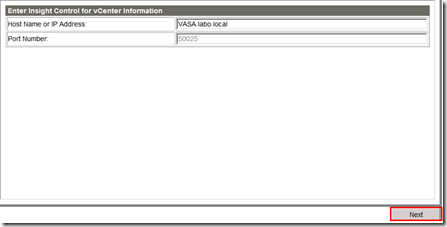
Click Next after verifying the VASA hostname.
Fill in the vCenter details and Add it. Click Next.
Since i don’t have HP SIM, leave all HP SIM fields blank and click Next.
Fill in the ESXi Host credentials and click Save.
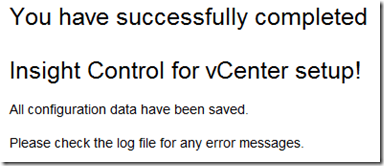
Configuration is complete!
Next, open up Storage Administrator Portal (https://vasa.labo.local:3508) and log in.
Click the Add button to add an array.
We will configure HP P4000.
Fill in the IP and credentials for the Lefthand VSA.
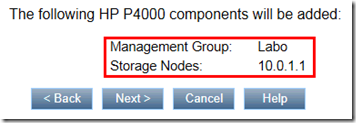
It will recognize your Management Group (meaning connection was successful).
We won’t be playing with provisioning, so Full Access isn’t necessary, but i will provide it anyway since it is a Lab environment.
Fire up vSphere Client. You will get a certificate warning about the VASA server. Install the certificate and Ignore the warning.
Go to Home – Administration – Storage Providers and click the Add button.
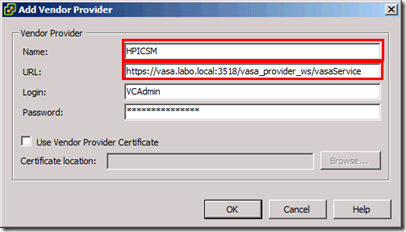
Name the Vendor Provider HPICSM and link it to https://vasa.labo.local:3518/vasa_provider_ws/vasaService. Replace the servername with the servername you installed HP Insight Control on. Pay attention to the port number which is 3518.
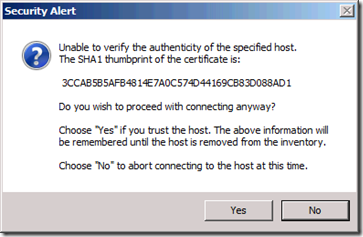
Click Yes in the Security Alert windows.
The Vendor will be added to the list in vSphere Client.
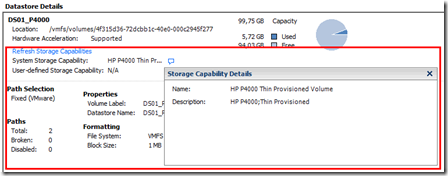
Now you’ll have to be patient as the data will be collected through VASA in the background. After a while, when you click a Datastore under Configuration, it will have the System Storage Capability filled in:
To test, i also created a Thick volume on the P4000 SAN and it shows up clearly:
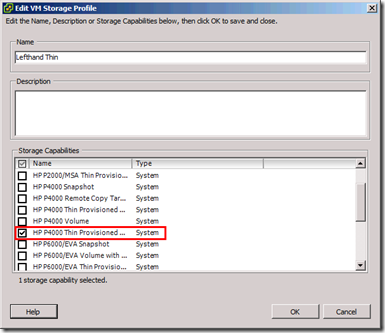
Since we now have this info, we can easily create a VM Storage Profile for all Thin P4000 volumes.
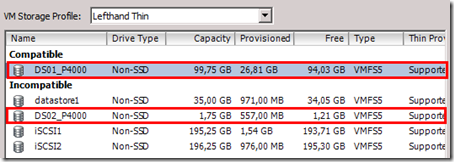
If you now create a new VM, my Lefthand Thin VM Storage Profile will only list datastores backed by Thin provisioned volumes on the P4000.
Pretty cool stuff!
